16
Mar
2015
Choose The Right Recording Microphone!

Reading Time: 4 minutes
To sound your best!
Written by: Jordan Chia
So you want get your first recording microphone for your brand new Digital Audio Workstation (also check these 8 music mixing tips by clicking here). Or maybe you just want a workhorse microphone for stage use. Which one should you pick? In this post, we will look at a few types of recording microphones and their common uses.
Dynamic Microphones
These microphones have a little magnet inside that vibrates when you speak into it. Those vibrations are converted into electrical energy through induction, which becomes a signal that can be recorded or amplified. Dynamic microphones are generally tougher, somewhat resistant to moisture and can be amplified the most with the minimum amount of feedback. This makes them suitable recording microphones for really loud sounds or in outdoor environments.
Condenser Microphones
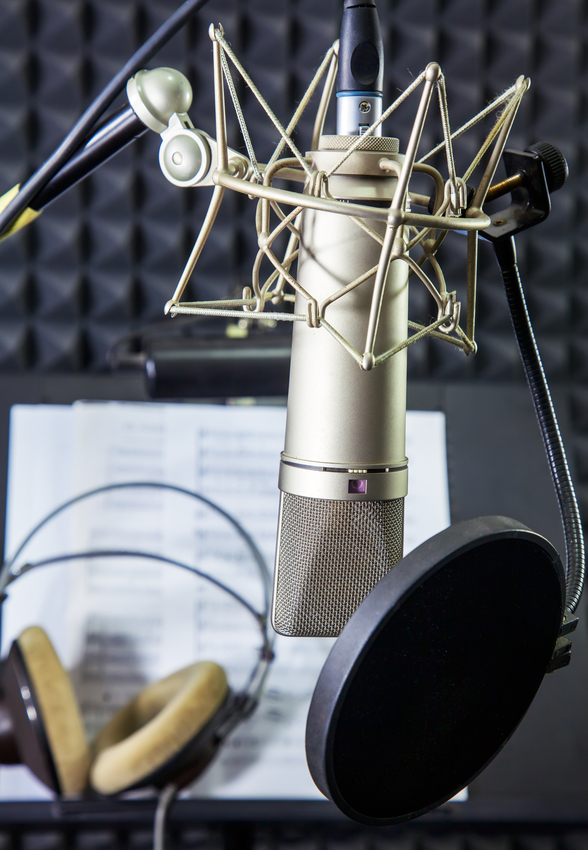
Condenser Microphones work with a capacitor (also known as condenser) inside of it. One side of the capacitor (a very thin sheet of conductive metal) is where we speak into, which moves with air vibrations. This changes the capacitance and results in an electrical signal that can be amplified. This recording microphone requires power for the capacitor to work and to boost the signal to a usable level. Phantom power or batteries are used for this, depending on the manufacturer’s design.
Condenser recording microphones are sensitive and are more prone to feedback than dynamic microphones. It is also relatively more fragile. However, its main strength is detail and sound quality. Condenser microphones are able to pick up very subtle nuances that a dynamic microphone cannot, making them ideal studio recording microphones for a wide variety of uses.
Ribbon Microphones
A Ribbon microphone is actually a kind of dynamic microphone. However, it has a pretty unique design. Instead of having one magnet that vibrates with the air, there are 2 strong magnets that are stationary while a very thin piece of conductive material (the ribbon) is suspended between them. When we speak, this thin ribbon moves and causes an electrical signal to be induced.
Ribbon microphones have a coveted warm sound, great for recording guitar cabinets and acoustic instruments. However, they require the most care. Storing the microphone horizontally can damage the mic over time. Blowing into the microphone or sending phantom power can wreck your prized ribbon microphone in an instant. They need special care and hence should be kept away from stage use.
Polar Patterns
All 3 recording microphones mentioned can vary in polar patterns. What is a polar pattern? Well, it is simply how a microphone picks ups up sound. Here is a brief rundown:
Cardioid – These recording microphones pick up the most sound from the front of the diaphragm, being less sensitive to the sides and rejecting the back.
Omni – These recording microphones pick up sound evenly from all sides in a spherical fashion.
So which one do we pick?
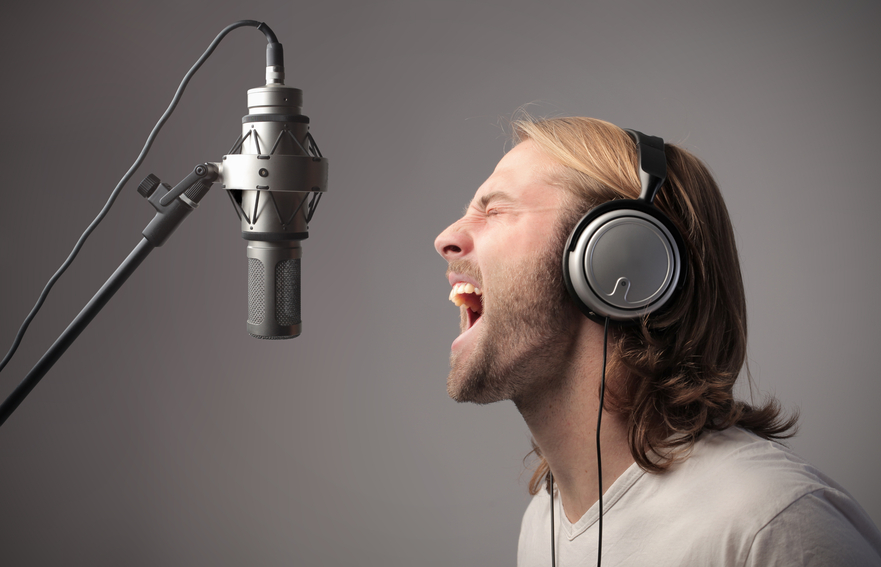
For Recording Vocals for Music and Broadcast – If you have a well-treated room with low background noise, pick a large diaphragm, cardioid condenser as a recording microphone, such as the Rode NT-1 or Audio Technica AT-2020. If you have a larger budget for your recording microphone and want the best sound possible, you can go ahead and splurge on something like a Neumann U87 but bear in mind, higher quality recording microphones also require a good preamp to sound its best. If you want a really unique, warm sound, ribbon microphones can be used but be extra careful not to damage it.
For Live Vocals or A Noisy Room – If your room is noisy, stick to a cardioid dynamic as a recording microphone. This will reject more background noise. While dynamic microphones are cheaper, great results have been achieved on some rock records when dynamic microphones are put to use as studio recording microphones. The Shure SM57 and SM58 continue to be workhorse microphones for live vocals on stage, even with very loud instruments.
For Small Acoustic Instruments – In a quiet studio setting, use a small diaphragm cardioid condenser as your recording microphone of choice. To mic an acoustic guitar, set up a pair of these and point one at the 12th fret and one at the bridge. Examples of small condenser microphones are Shure SM81, Neumann KM184.
For Guitar Cabinets – All recording microphones introduce a unique character to the sound of a guitar amp. Feel free to experiment, but if all else fails, pointing an SM57 straight at the cabinet should get the job done. To shape the tone, try putting 2 different types of recording microphones (don’t be afraid to try ribbons and condensers) to open up more options and even colour the sound through phase cancellation by setting the microphones at an angle.
For Drums – Setting up recording microphones on drums can be complex, but as a general rule, use 2 cardioid condensers as overhead recording microphones to pick up the cymbals and the general sound of the kit, and use cardioid dynamic microphones to mic the snare and toms individually. The Shure SM57 is usually used for snare while the Sennheiser MD421 is often used as a standard recording microphone for toms. The kick drum requires a dynamic cardioid microphone sensitive to low frequencies – such as the AKG D12 or even the Electrovoice RE20.
For a Group of Singers – placing a large omni condenser microphone in the centre of a circle of singers can pick them up effectively. Only the omni polar pattern will work for this technique, so make sure you remember to switch your recording microphone to the omni setting before recording.
Conclusion
There are many other situations which require more interesting polar patterns on your recording microphone – such the figure of eight, super-cardioid and hyper-cardioid (not mentioned). Some techniques use a combination of microphones with different polar patterns.
Feel free to experiment! Choosing and placing recording microphones effectively is as much an art as it is a science. Understand your microphones well – their strengths and their weaknesses – and cater them for specific situations.
Do you like recording and mixing? Follow us on Twitter to check all the latest tips and tricks from the recording world!


The MAIN needs are as followed: Audio soucre (Microphone) and recorder (Computer). Anything more than that just is a luxury. I’ve heard AMAZING recordings with a $150 set up, but it takes alot of practice that way. I recommend if your starting out, buy a cheap, decent microphone, a simple mixer, and start from there. Grow your home studio as you grow in knowledge
Thanks for this article! There are so many choices in equipment these days that it is important to keep the fundamentals in mind – a quality mic that will pick up a resonant room where an enjoyable piece of music is played.