08
Jul
2016
DIY Recording Studio Basics for Anyone
Reading Time: 3 minutes
A DIY Recording Studio is usually easy for those who have experience but what about those whose hearts are burn with passion for music and wanted to become a Youtube star? Many questions come up and some of us aren’t aware of what to do? Fear not! This insight offers some suggestions or factors to how you can start a home studio.
DIY recording studio basics usually begin with a suitable microphone and a decent condenser or dynamic microphone for a home studio is not as costly as it seems. Some of the affordable brands for condenser microphones will be Audio-Technica, Sontronics or Rode. As for dynamic microphones, Shure will be the recommended brand for it as their Sm58 is an all-time favorite microphone in the market.

Interface
What’s next? A DIY home recording studio is not completed without an interface to convert your analog signals to digital! Recording interfaces are getting cheaper these days and a decent recording interface will not cost as much and can be obtained at an affordable price. Some of the recommended audio interfaces will be Apogee ONE, Focusrite Scarlett 2i2, PreSonus, Native Instruments, Mackie Onyx, and Line 6 POD Studio UX1.
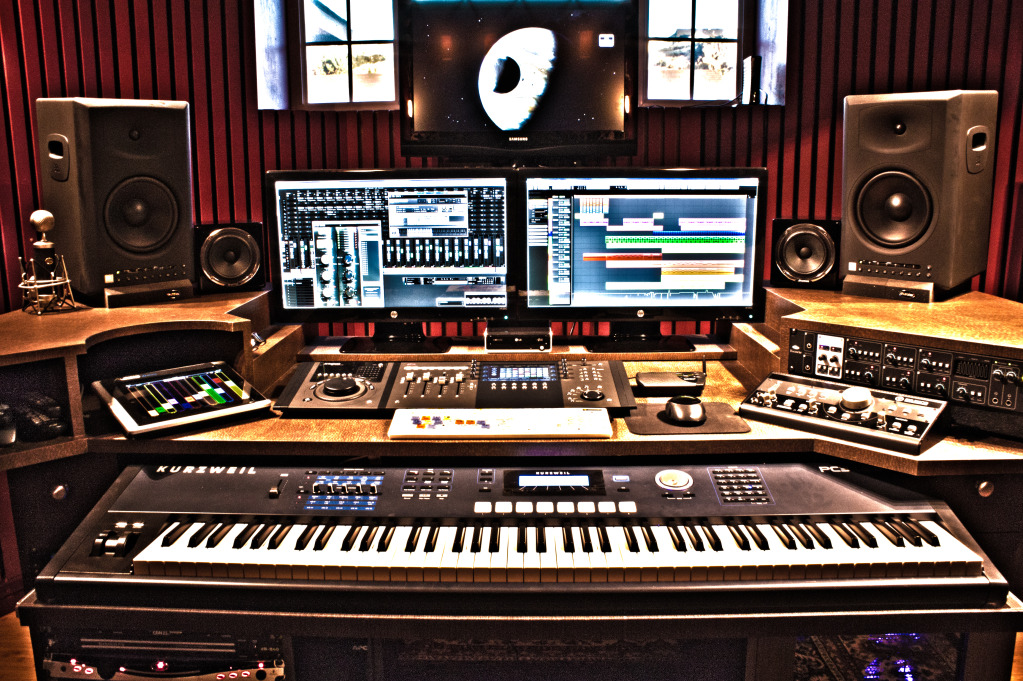
Buying Studio Monitors
There is a difference between Studio Monitors and any other normal speakers you can purchase in electronic stores. The precise sound you get from these 2 sets of speakers varies a lot. Some of the normal speakers have a boost on some frequencies to make it sound better, while Studio Monitors serve as a non-bias projection of sound to the human ears. A decent pair of Studio Monitors will be the Mackie CR3 or a Yamaha HS5.
Speaker Placement

Spending money on good studio monitors and not knowing its proper position, defeats the purpose of having them. A good DIY recording studio is not completed without the proper placement in the right position towards you as it compromises the quality of sound with the price you paid. So what is the correct speaker placement?
Place the 2 speakers 2 to 4 feet apart from each other and have them each tilted 60 degrees towards yourself in a form of an Equilateral Triangle formation. The closer the speakers are to each other, the more accurate the sound you’re listening to will be. Since near fields are designed to be listening to at a certain distance, if the distance of both speakers goes under 2 feet from each other, the accuracy of the sound will be affected.
Digital Audio Workstation (DAW)
The commonly used DAW in the recording industry is Avid Protools, but it will be a hefty sum to purchase that software if one is building the studio for making music as a leisure activity. Well, don’t worry! Because Protools has launched a free version of its software titled Protools First. Although there are some limitations to it, but for a basic setup of a home studio recording platform, it is good enough as a starter pack. There are also several free DAWS that one can download online to use and with the current technology these days, it is good enough to run a decent recording session. For Mac users, GarageBand comes free with any purchase of the laptops or computers, which can be used as a DAW as well for the recording session.
Some of the free DAWs can be found on the following website:
Acoustics
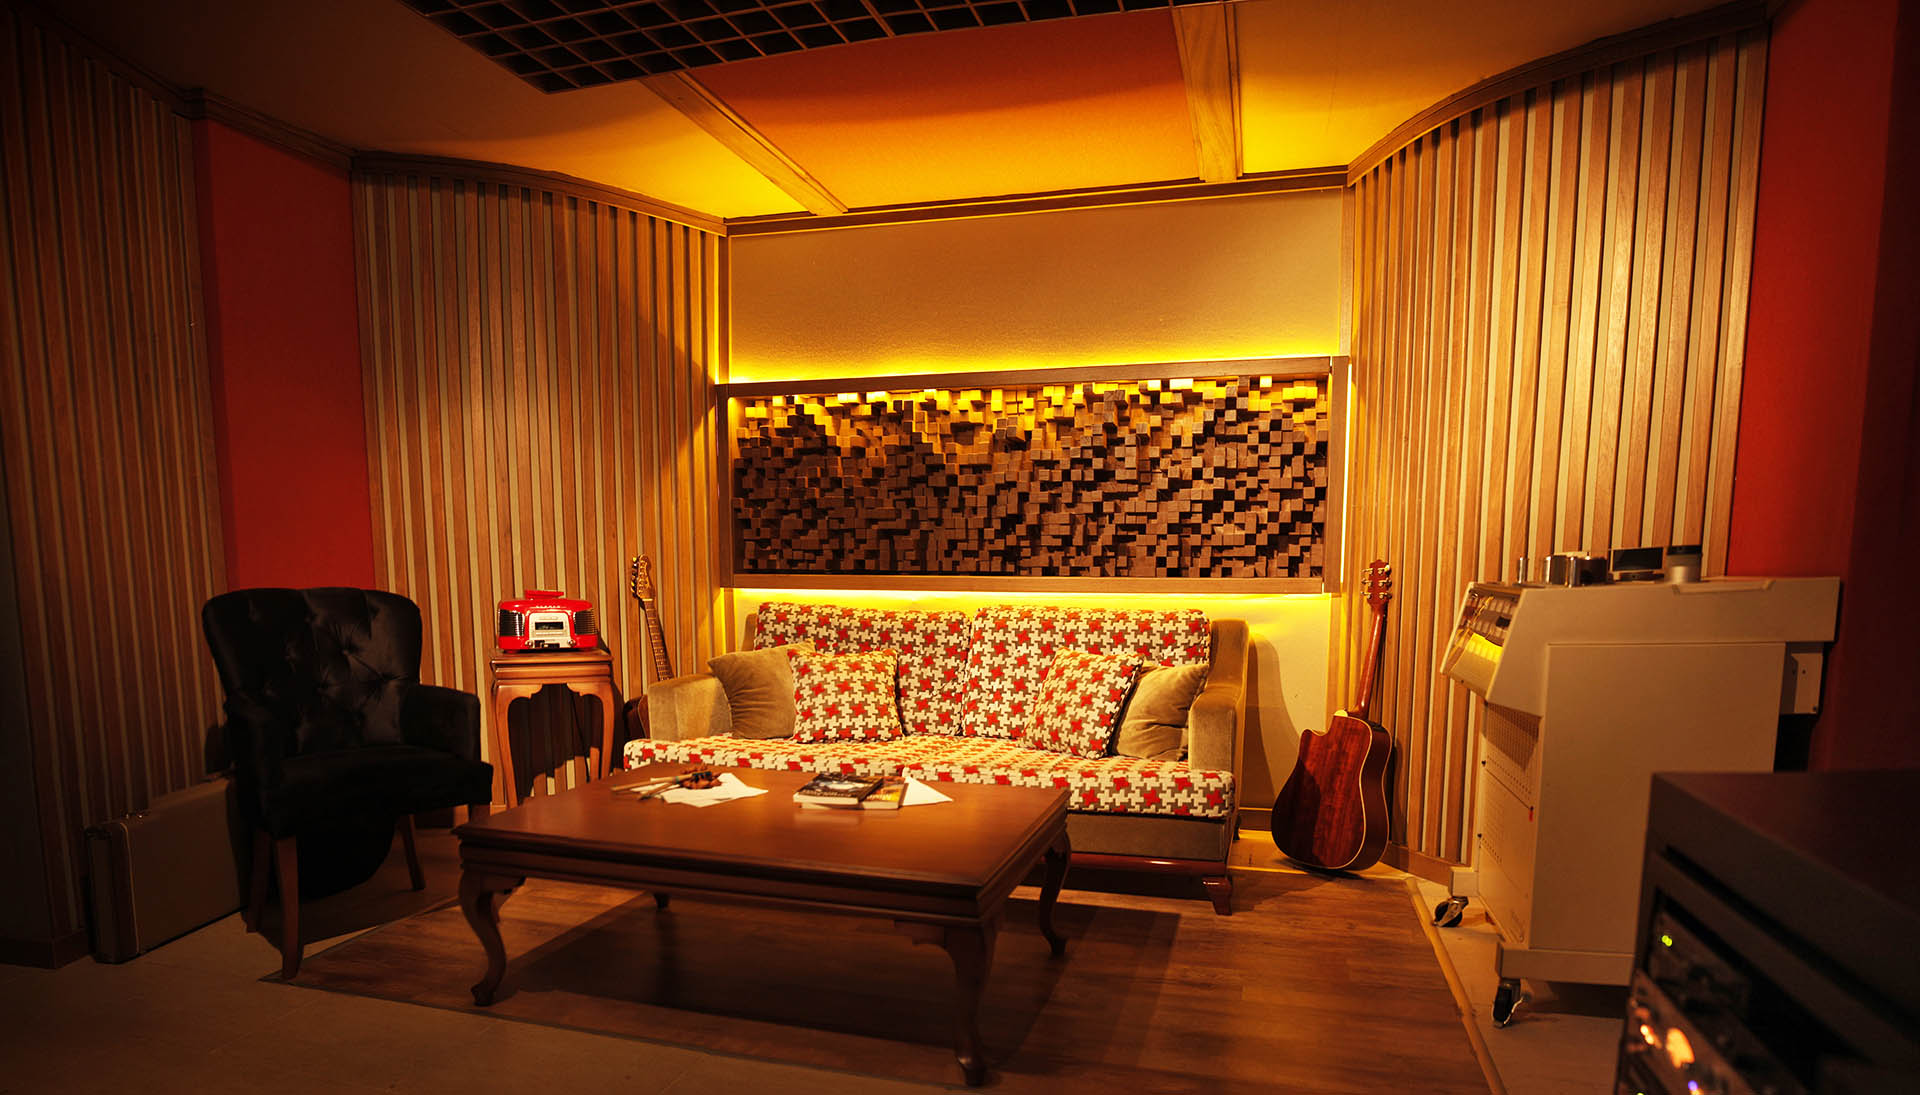
Having a home studio is not simply just throwing in equipment and record but the treatment of the room acoustics to ensure that noise from outside of the room doesn’t enter and affect our recordings. Likewise, we do not want the sound of the vocalist belting the high note from inside the room to exit as well. To understand more of soundproofing and acoustic treatments for studios, do enquire with us and we would gladly help :).